
Dostawa od 10,99 zł
Zamów w przeciągu 02:21:32 a wysyłkę otrzymasz jutroMasa szpachlowa do drewna DMSD biały 250g Dragon

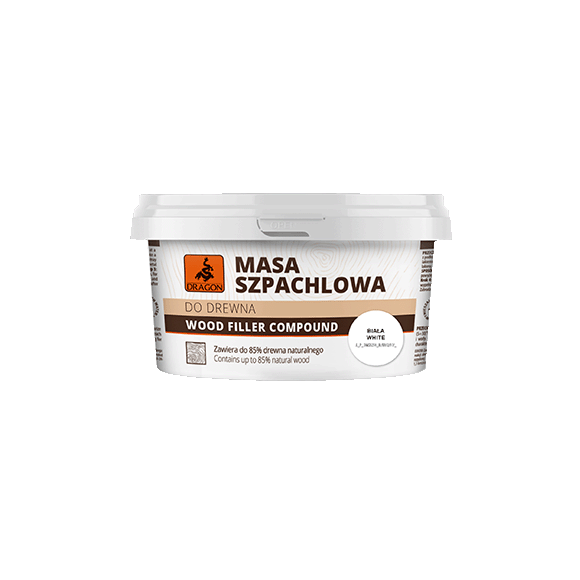
Masa szpachlowa do drewna DMSD biały 250g Dragon
High quality wood filler.
Easy to apply and smooth.
It is characterised by excellent adhesion to the substrate.
After drying, can be filed, sanded, varnished and painted.
Product available in stores
Masa szpachlowa do drewna DMSD biały 250g Dragon
High quality wood filler.
Easy to apply and smooth.
It is characterised by excellent adhesion to the substrate.
After drying, can be filed, sanded, varnished and painted.
APPLICATION:
Product designed for filling cracks and cavities in wood, sealing holes and gaps in parquet, parquet mosaic and paneling.
Ideal for repairing furniture, doors and wooden window frames.
Intended for both indoor and outdoor use.

Dostępne kolory
Find out how to take advantage

- 1 Apply a thin, even layer with a metal spatula, then smooth.
- 2 Fill cavities with a depth of more than 2 mm in layers (2 or 3 layers depending on the size of the cavity).
- 3 Apply subsequent layers after the previous one dries.
- 4 If the cavity is of a greater depth, we recommend partially clogging it with, for example, string or twine to reduce the depth of the filling.
- 5 After it is fully dried - approx. 24 hours (depending on air temperature and humidity) the material may be sanded and painted.
- 6 Clean dirty tools and fresh stains with water.
- 7 Tightly close the package after finishing work.
No usage data available for this product.
- The filled substrate should be dry, clean, degreased, free of coats of varnish and non-substrate material.
- Use at a temperature above +10°C.
- Mix the putty thoroughly before use.
- Before applying varnish coatings, stains and other impregnations, make a covering test.
- When used outside, the surface should be protected with a layer of paint or varnish.
- The color shown on the package may slightly differ from the obtained effect due to the printing technique used.
No read before use data available for this product.
Technical data
| SKU | |
|---|---|
| Ean | |
| Grammage | |
| Maximum efficiency | 1.4m²/kg |
| Applicability | interior or exterior |
| Coating total drying time | 24h |
| Initial hardening/drying time of the joint/coating | 1h |
| Typ produktu | water-based on styrene-acrylic dispersion |
| Consistency | paste |
Security
- Keep out of reach of children.
- During and after the works, the room must be intensively ventilated until the characteristic odor disappears.
- Familiarize yourself with the product's application.
- Do not use on surfaces that are permanently exposed to moisture and water.
Storage and transport
- Store and transport in tightly closed, original packaging at a temperature of (5÷30) °C.